Blooming Pinwheels
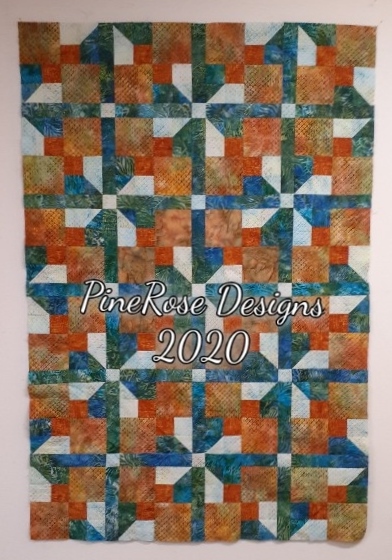
I’ve been working on a new pattern. It came about last winter when we able to download the Quilt Minnesota Shop Hop 2020 fabric jpgs. I putzed around in EQ7 to come up with the block for the Old Creamery. I decided to use that block for a quilt that we could kit up for Shop Hop.
I made a quilt with the blocks in it. Blah. I added sashing. Better. I rotated the alternate blocks. Bingo! We had it!
The block was one from the EQ Block Library, and it had a Y-seam. No, no, NO! I changed it to a HST and a square–much easier, and the same look.
I have 3 sizes in the pattern, a small lap 48″ x 67″, a lap 57” x 76”, and a twin 67” x 86”. We chose the twin size for our Shop Hop quilt.
I submitted the design to Connecting Threads this spring in the small lap size and it was accepted. I’m sewing that size now.
There is an alternate way to sew the blocks together, which is how I usually do it. I’m not sure why I wrote instructions to put them together row by row.
Anyway.
I put my blocks up on my design wall (no pictures of that) and numbered them with masking tape. When I went through my stash for fabric to use, I made a bit of a miscalculation… I found that I needed 8 more squares of one fabric. I could get 2. Ok, plan B. I cut the 8 needed squares from a coordinating fabric, and put the blocks with those squares in the center of the quilt, so at least it looks somewhat planned.
So back to how I sew the blocks together. I printed out the quilt from EQ and numbered the blocks on that to create my map.

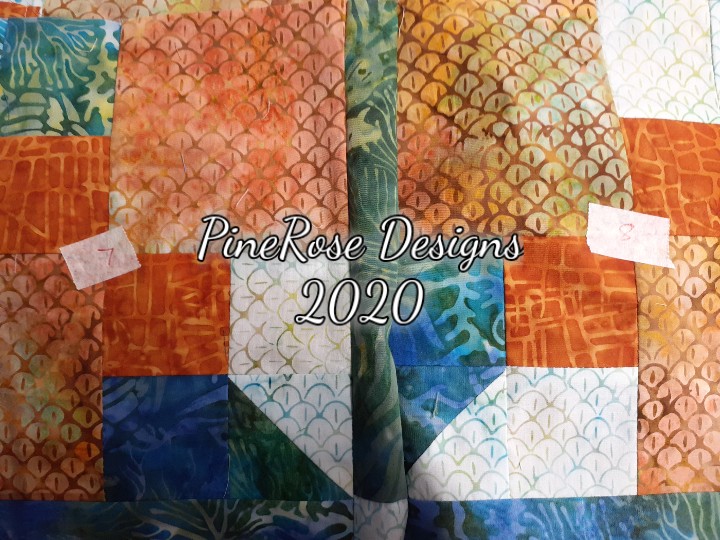
I sewed the blocks into pairs– 1 and 2, 3 and 4, etc. Here are 7 and 8, 12 and 13.
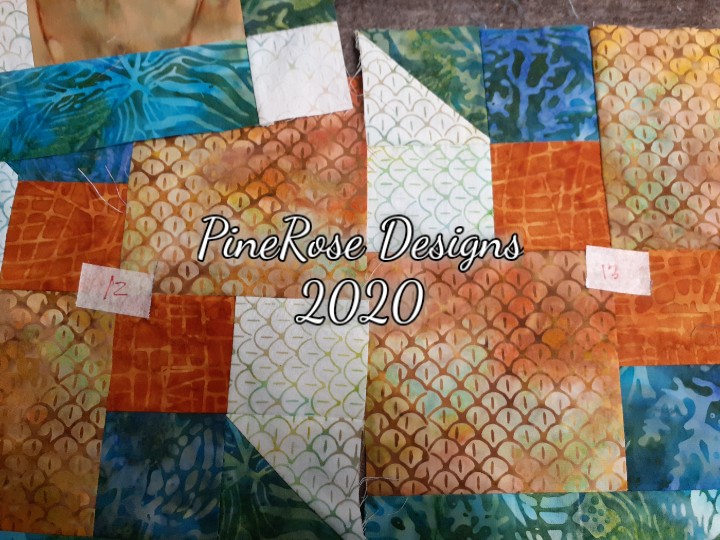
Here are 4 blocks sewn together.

After sewing all blocks into pairs, I sewed pairs into 4-patches. After I have all the blocks sewn into 4-patches, I sewed the 4-patches together, etc, until all blocks are sewn together.
Happy 4th!
