Christmas is coming
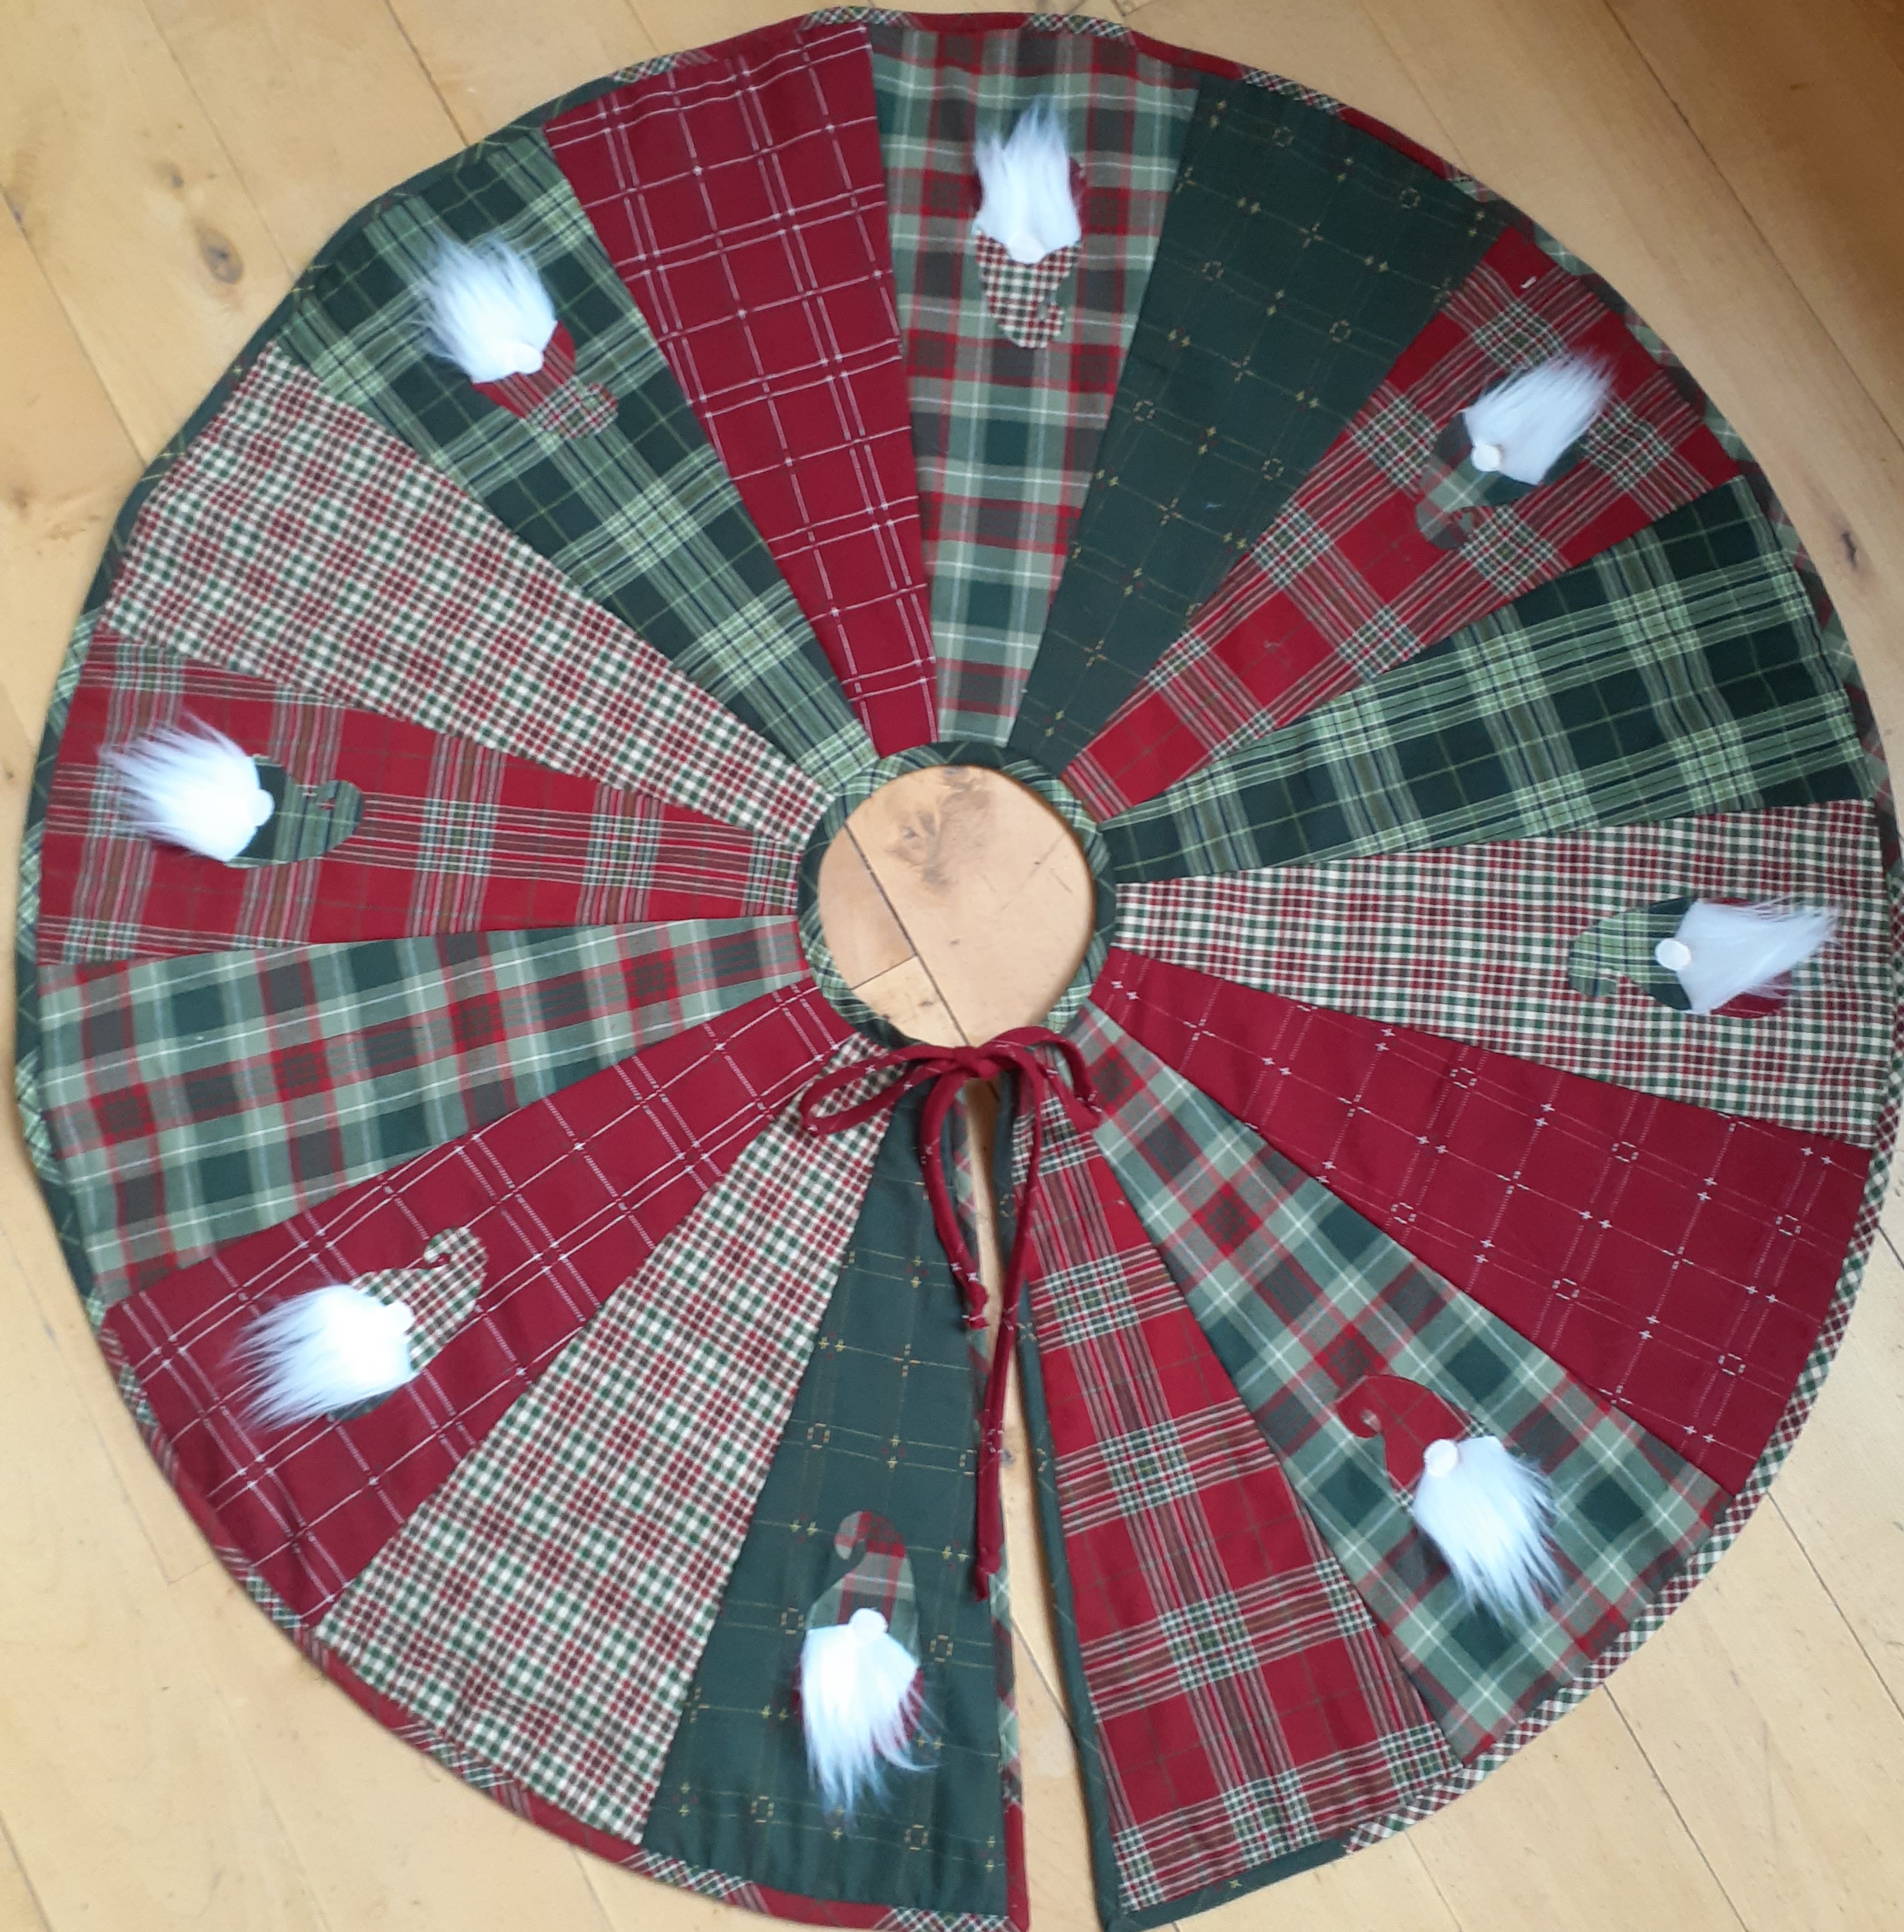
A customer called the Creamery asking if we could make a tree skirt for her. She and her husband came in to pick out the fabric. She had a pattern for a gnome that she wanted to be incorporated into the tree skirt. We had a tree skirt kit with printed interfacing, a template for cutting the wedges, and the instructions.
There were six different plaids chosen by the customer. First up was to use the template provided to cut 16 wedges, two of each fabric, plus another of four fabrics. Linda and I laid out the wedges into what we decided looked like a good mix. I numbered them 1-16, because I knew I’d never get them back in order if I didn’t!
Next was to create the gnomes, using the same six fabrics.
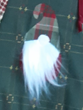
I traced the shapes for the body (barely seen under the beard in that fuzzy image), cap and nose onto paper-backed fusible. I fused the body shapes onto the plaids, cut them out, and stitched around them using monofilament thread and a straight stitch.
I knew I couldn’t fuse the fur beards, so I traced around a cutout of the beard onto the back of the fur, cut them out, then pinned, pinned, pinned the beard onto the top of the body, and stitched around.
I followed that with the hat and nose, pinning and stitching.
Once all the gnomes were attached to their wedge, adding them to every other wedge, it was time to make them into the tree skirt.
With the printed interfacing glue-basted onto the wrong side of the backing, it was simply a matter of adding the wedges one at a time using the quilt-as-you-go method. I finished up with using the fabric leftover from the wedges to make a scrappy binding. I sewed that to the back of the tree skirt, brought it to the front, and stitched close to the folded edge of the binding with a straight stitch.
There was quite a bit of customer interest when they saw me sewing or saw the pieces laying on the table!
It turned out so cute!!